Version Control for Unity
How to set up Diversion to share assets with others on your team.

Diversion brings version control directly into the Unity Editor. Manage large assets, prevent conflicts, and sync effortlessly, all without the overhead of legacy tools. The Diversion plugin for Unity lets your team share, track, and roll back assets or code changes from within the editor.
Resources
Plug & Play Integration
Install the plugin, enable it, and start working. No complex configuration or setup scripts required. Diversion works with your existing Unity project structure.
Live Sync & Branch Info
Branch name and sync status are displayed directly in the Unity Editor. See at a glance whether you're synced, syncing, or paused, and which branch you're working on.
Conflict Prevention Alerts
Get warnings before conflicts happen. When you open or save a file that a collaborator is also editing, Diversion alerts you immediately. Visual clash indicators appear directly in the Project window.
File Status at a Glance
Color-coded status icons overlay your assets in the Project window: green for added, orange for modified, red for deleted. No need to open a separate window to see what's changed.
Selective Commits & Resets
Choose exactly which files to include in each commit. Reset individual files or all uncommitted changes with confirmation dialogs to prevent accidental data loss.
Lightweight by Design
The integration runs quietly in the background, polling for updates every few seconds. It stays out of your way until you need it.

Using Diversion with Unity
Downloading and Installing Diversion
Once you have your account, log-in to and get the Diversion desktop app.
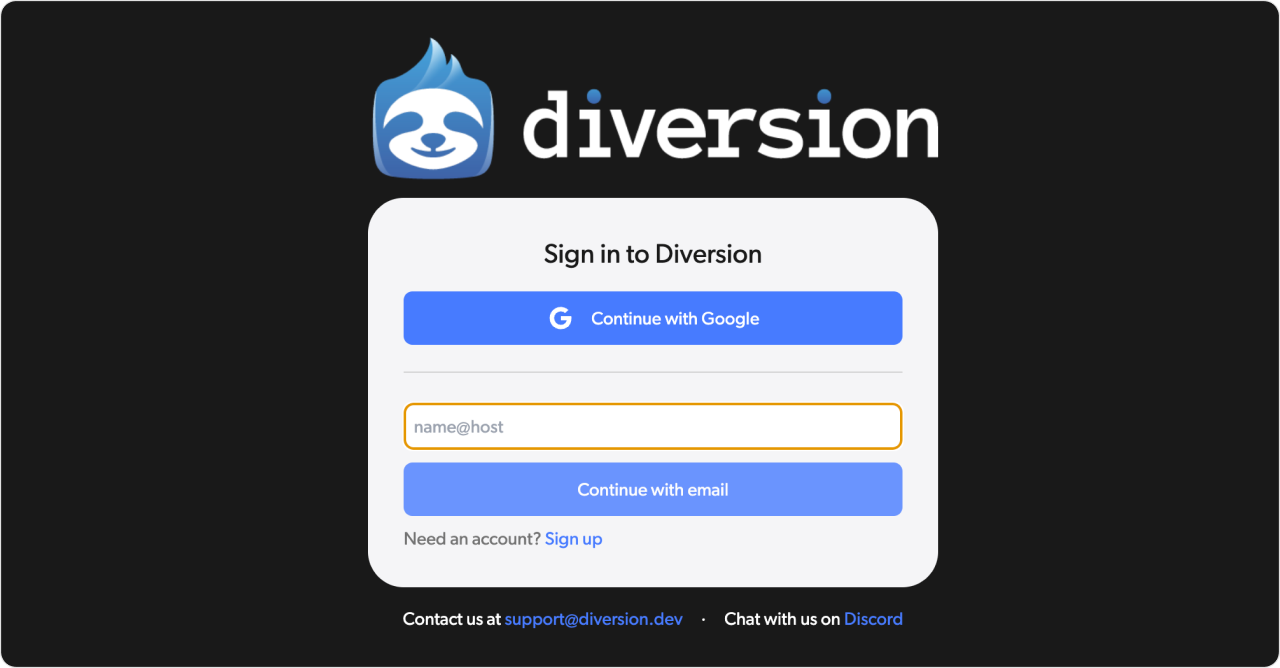
Once installed, run the Diversion desktop app and log in with your credentials.
Installing the Unity integration
Download the Diversion integration for Unity. It's free and requires Unity 6 or later.
Setting Up the integration
Open Unity and import the integration package into your project.
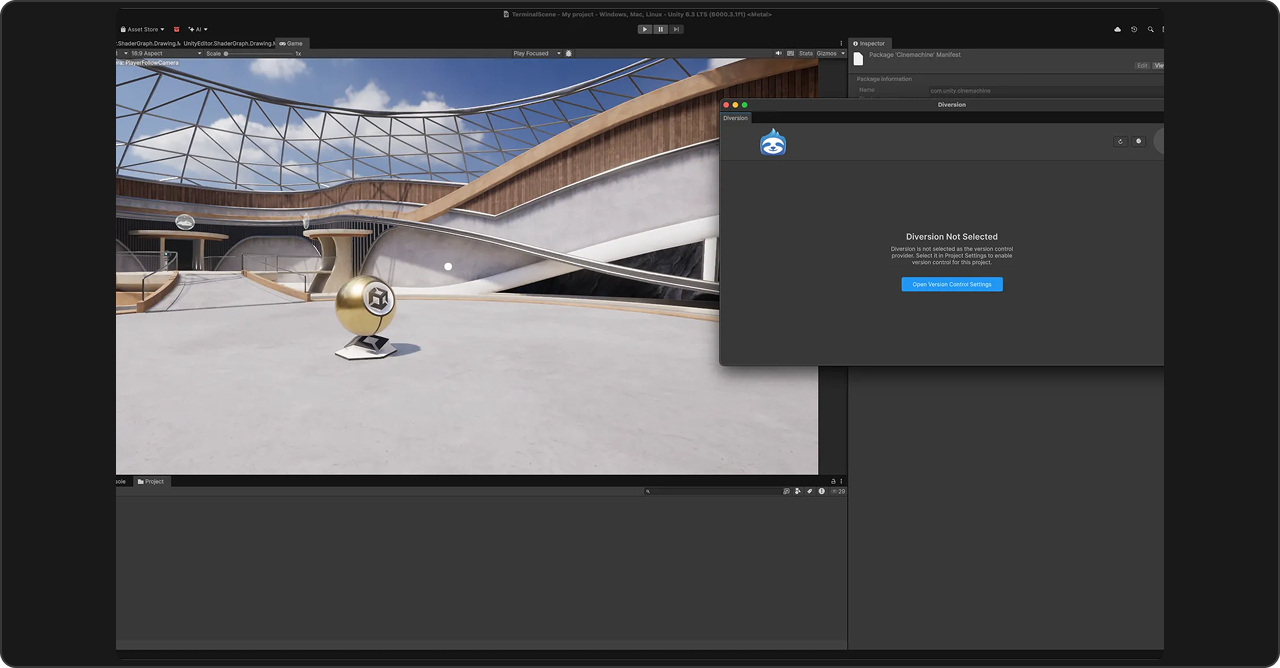
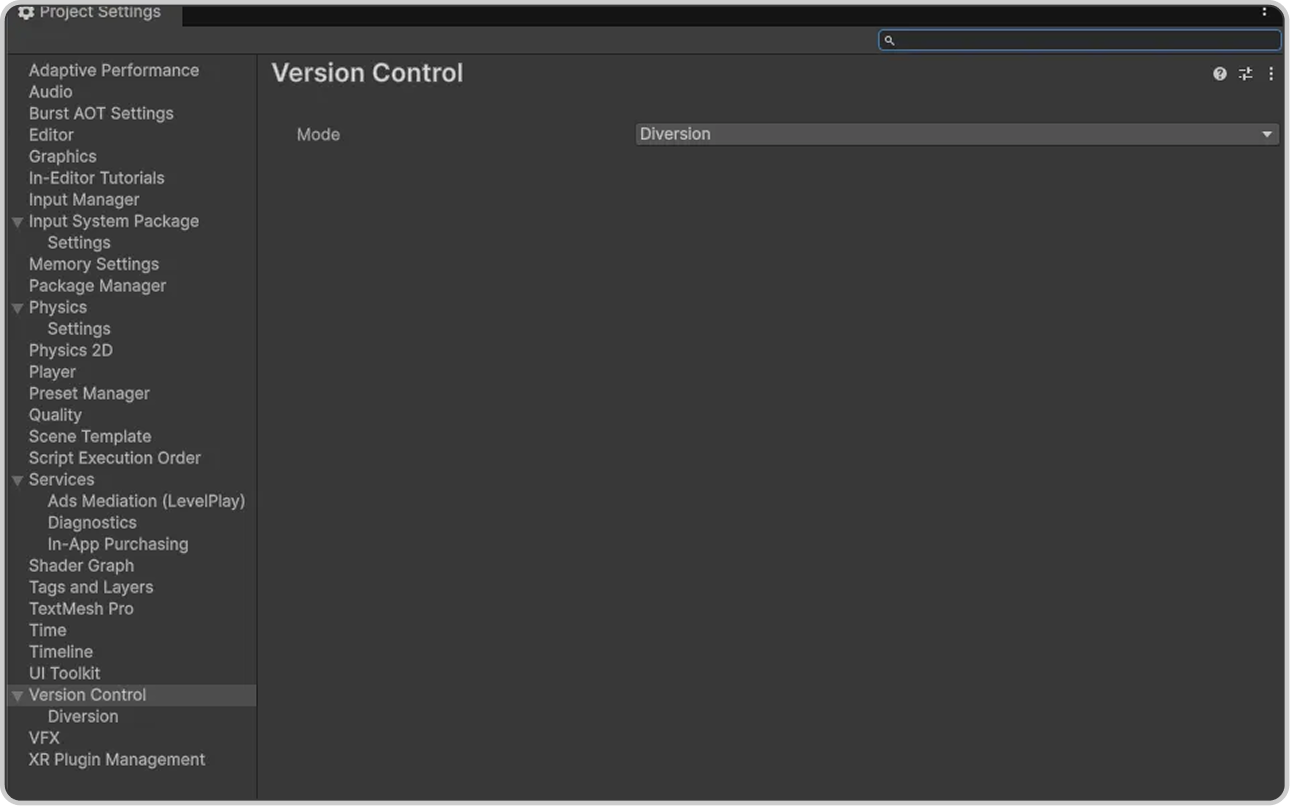
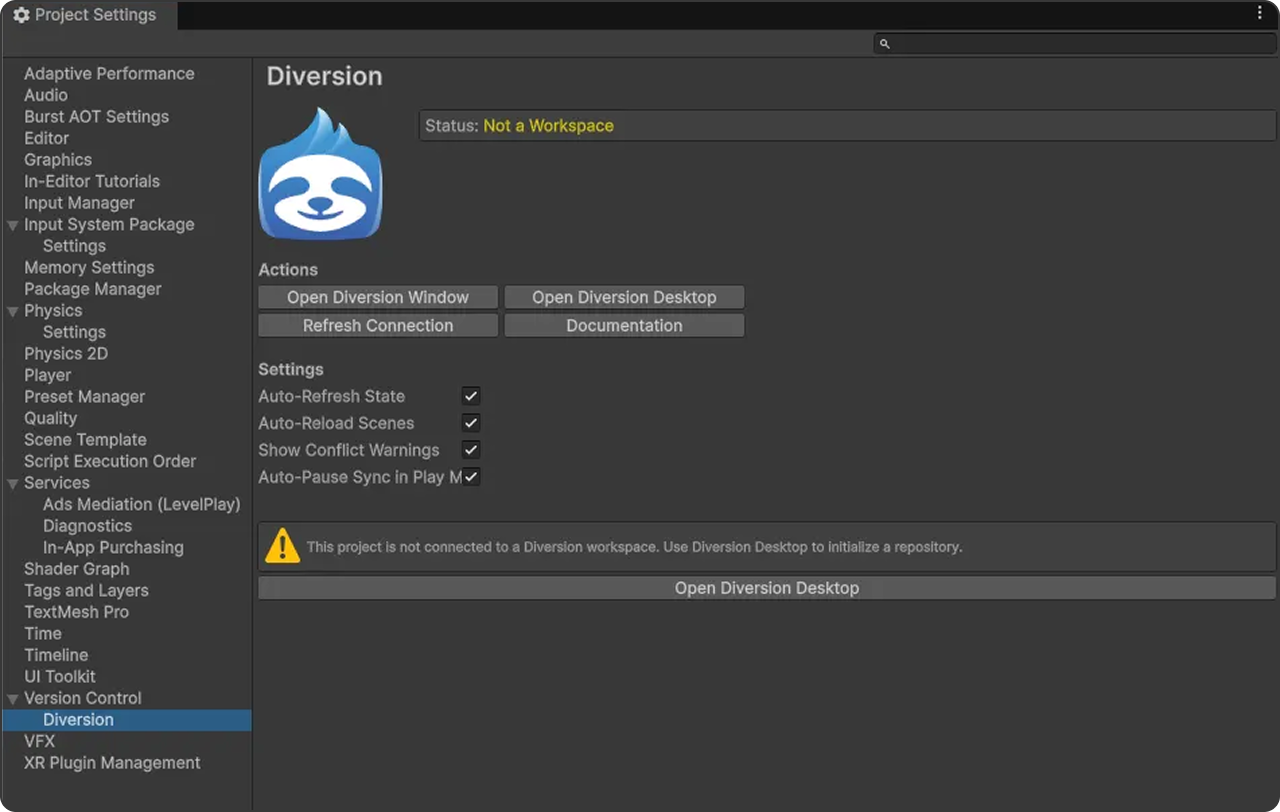
Once imported, go to Edit > Project Settings… and navigate to the Version Control section, make sure the mode is set to Diversion.
Click on Diversion, and you’ll see the configuration settings. Open now the Diversion sub section.
If this project is not already initialized as a Diversion repository, you’ll need to do it via the Diversion App. Open the Diversion Desktop App.
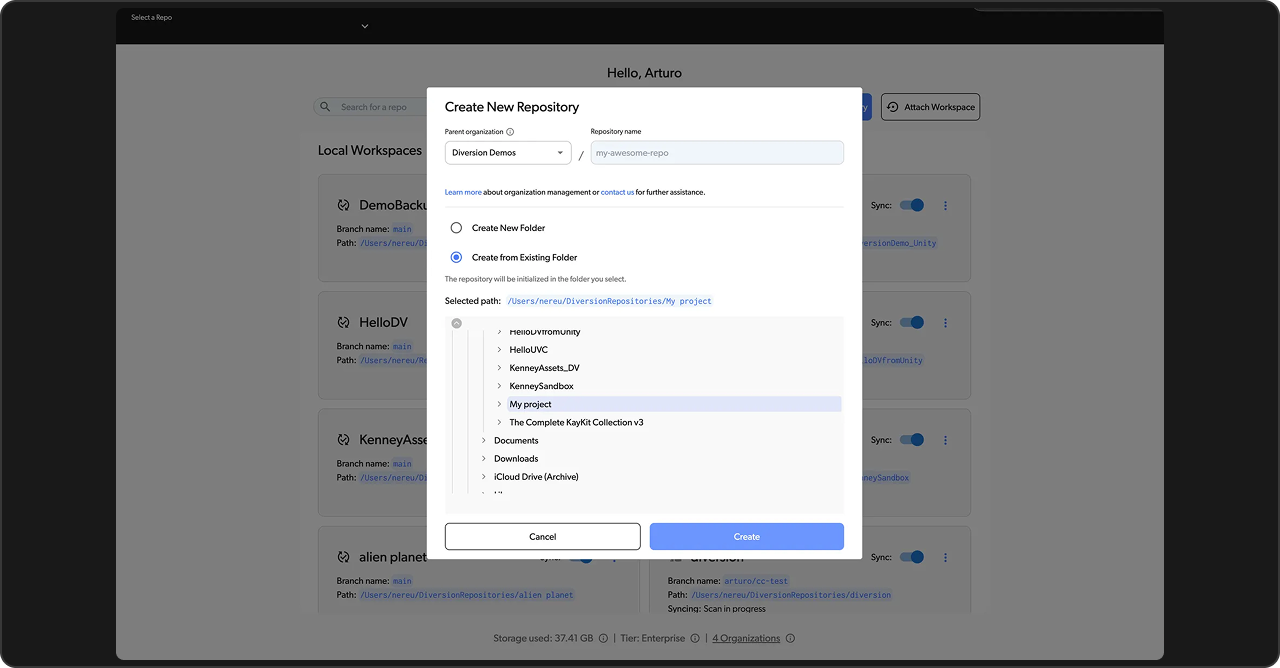
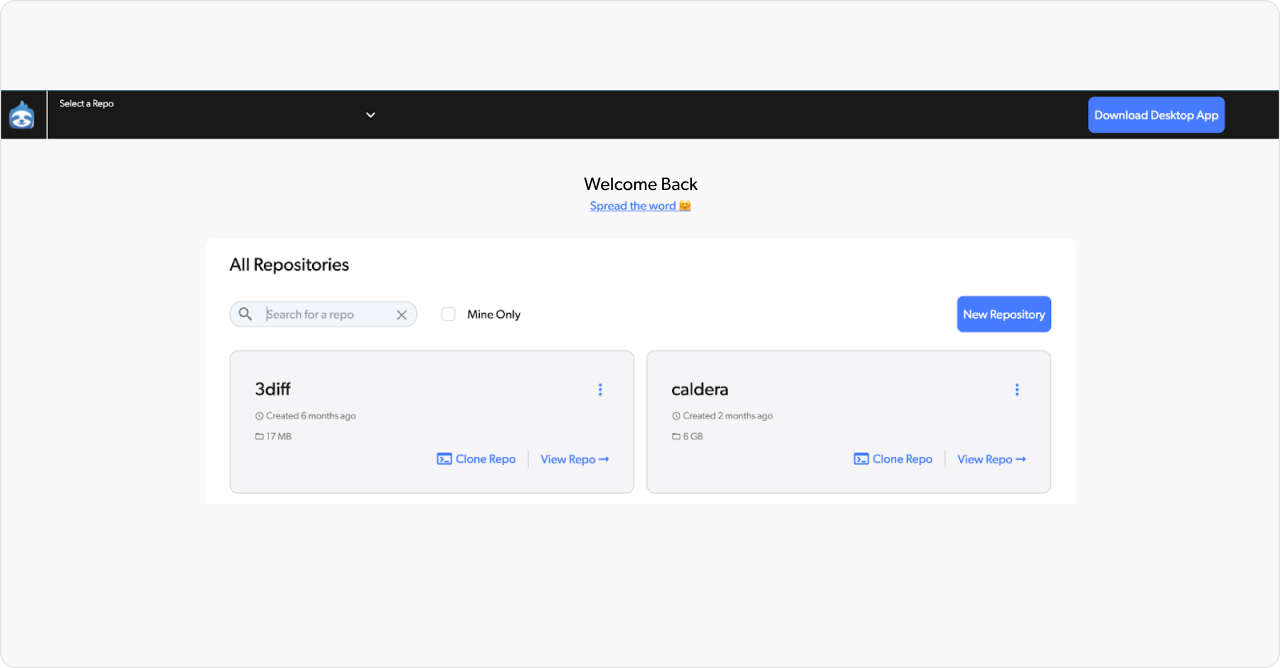
Now, from diversion, Create a New Repository. But Select Create from Existing Folder and navigate to where your Unity project is located in your computer. Then, Create.
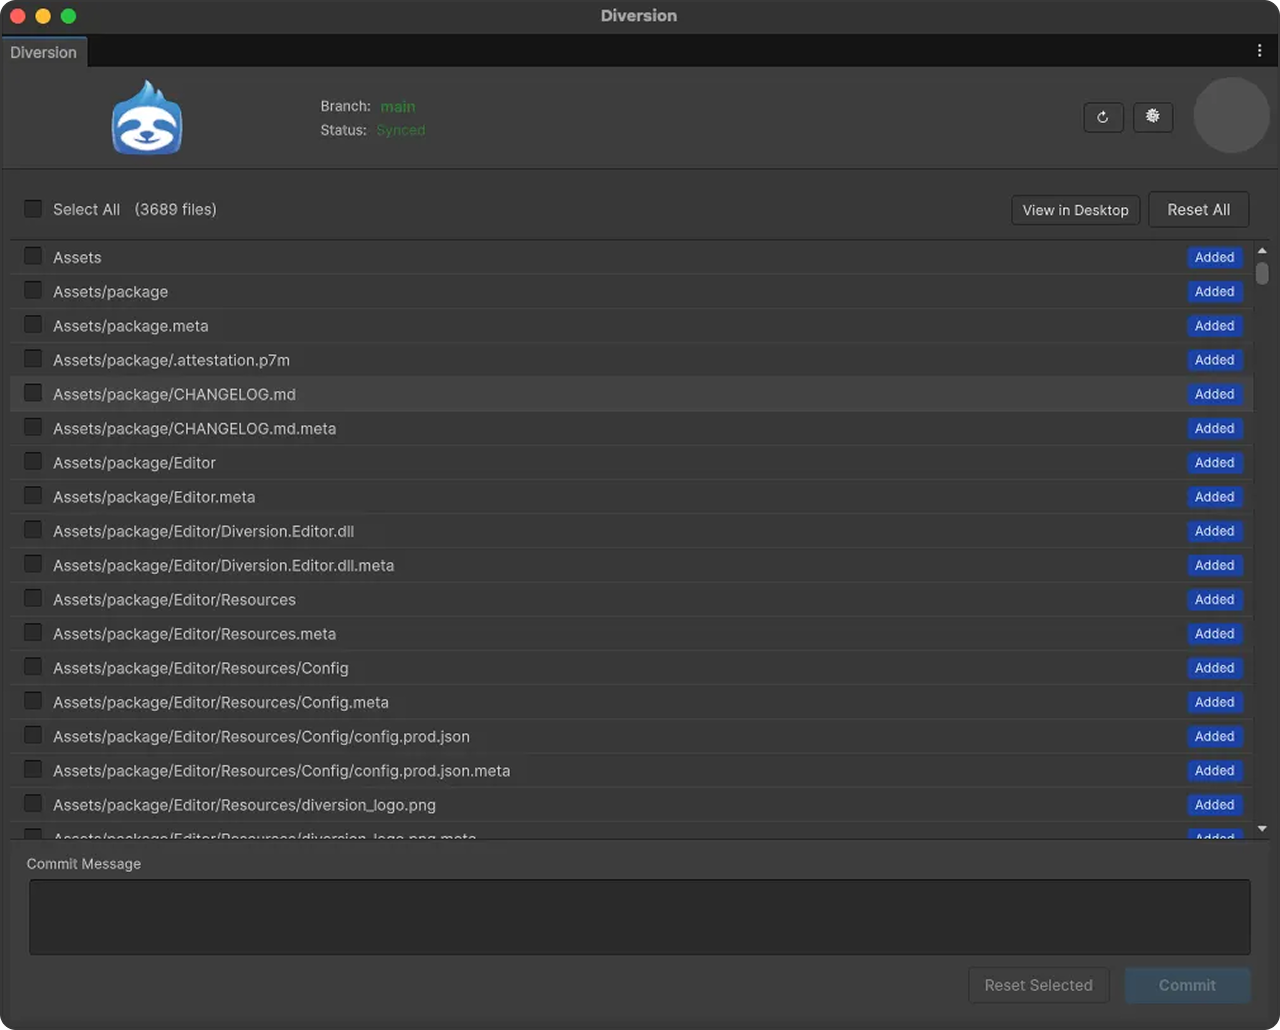
Go back to Unity. And go to Window > Diversion. The Diversion window shows your current branch, sync status, and any changed files.


Using Diversion with Unity
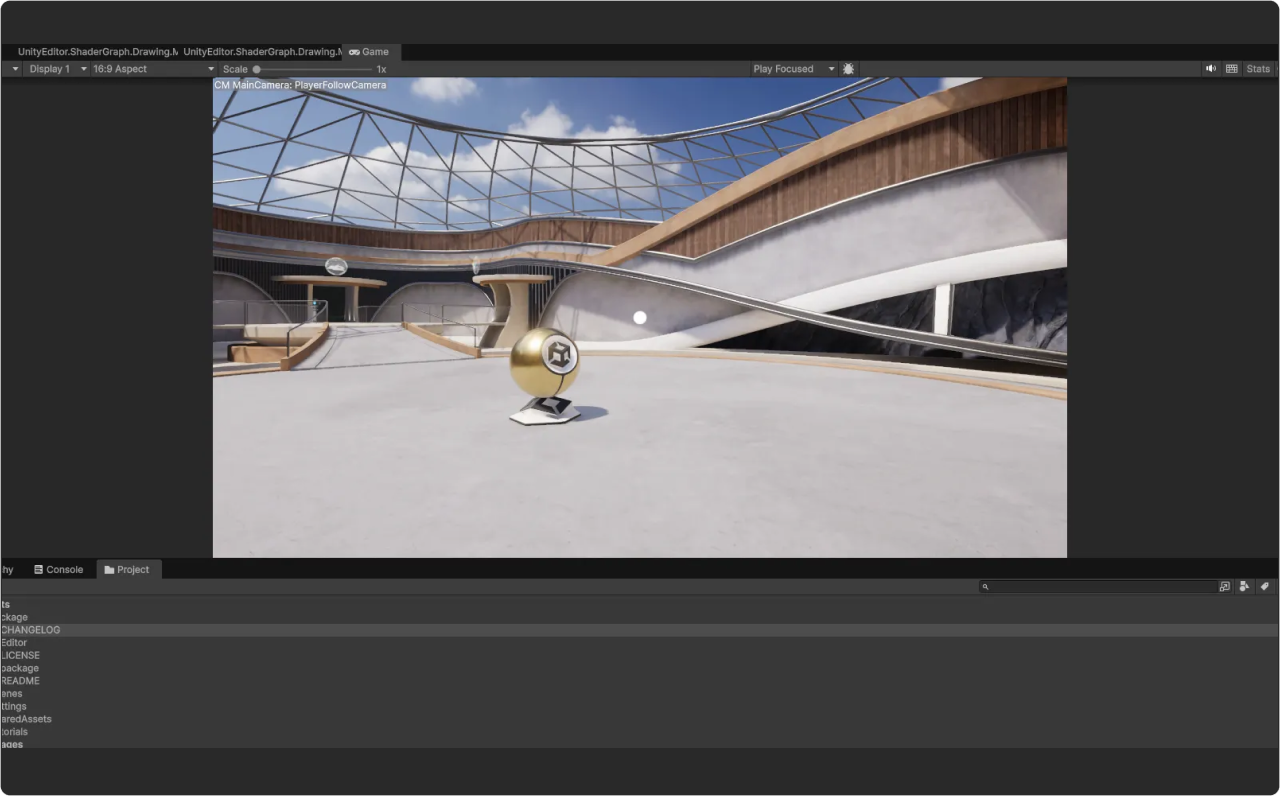
In the Project window, you'll see status icons on your assets. A "?" means the file is not being tracked.
Once added, the icon changes to "+" to indicate the file is staged for commit.
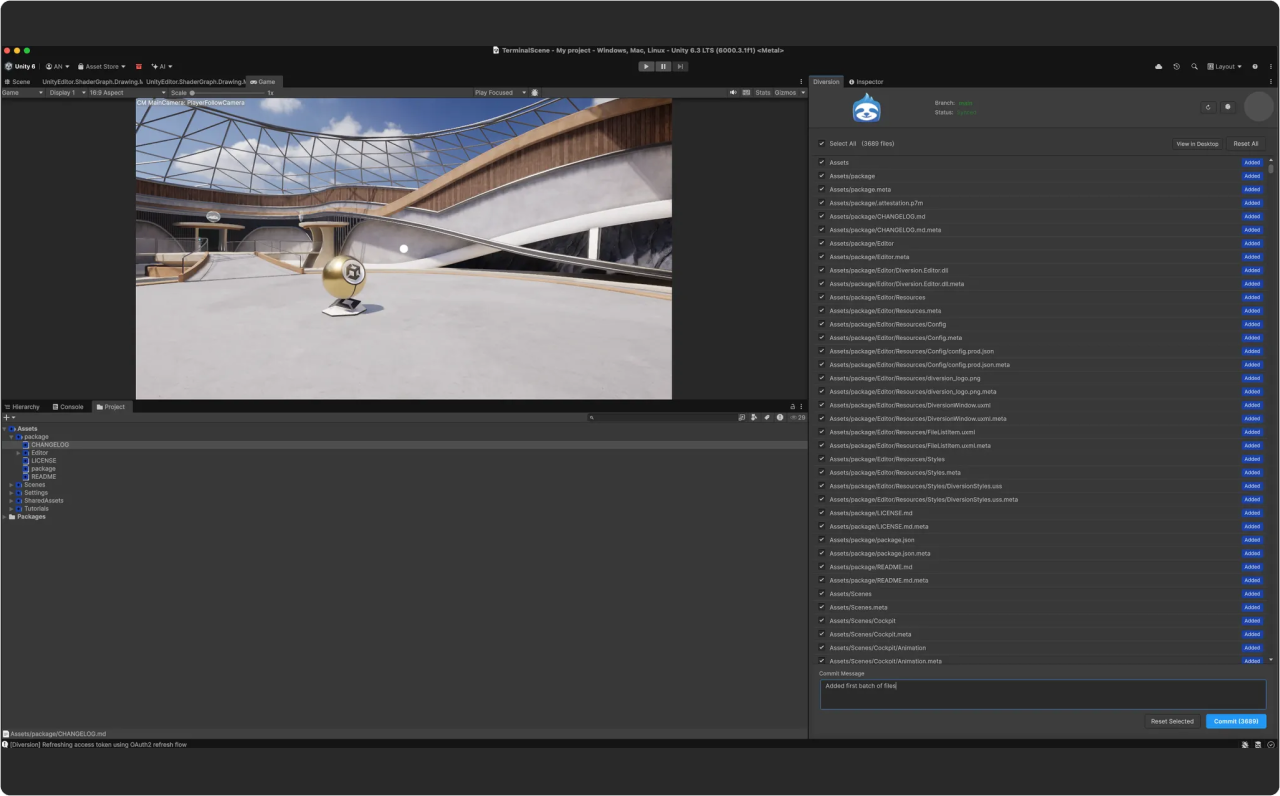
To commit your changes, open the Diversion window (Window > Diversion). Enter a commit message, select the files you want to include, and click "Commit".
You can also click "View in Desktop" to open the Diversion desktop app for more advanced operations.
